DIY Tips for Fixing Plasterboard Holes
Have you ever tripped on someone’s shoes they have left around and damaged your wall?
Maybe a friend was celebrating a billiards win, got a bit too joyful and next thing you know, there’s a cue hole in your ceiling?
Whatever it is, accidents happen! But leaving a hole in your wall or ceiling isn’t an ideal scenario. If you’ve got a hole in your gyprock or plasterboard, there are some simple steps you can follow to get it looking as good as new.
DIY plasterboard repairs
Basic plasterboard repairs can be relatively simple to do at home. Use the following instructions for cracks and holes in gyprock or plasterboard that are no bigger than 45cm.
What You’ll Need:
- Plaster cement
- Jointing plaster
- Finishing coat
- A piece of plasterboard the same thickness as the existing material (or gyprock)
Tools:
- Dust mask
- Trimming knife
- Keyhole saw
- Ruler
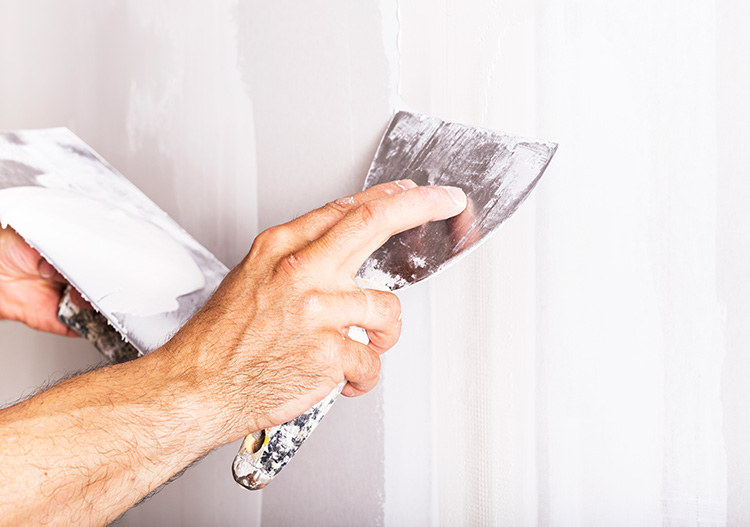
- Broad knife
- Sanding float with 100-200 grit sandpaper
- Screwdriver
Measure and cut your new piece of plasterboard to be just a little bit larger than the area that you need to repair. Once you’ve got it to the right size, hold the new piece of plasterboard over the area you need to repair and trace around it.
Now that you have a line to guide you, carefully trim the plasterboard back so that you can slot your replacement piece in. Look out for any wiring or piping that might be in the wall cavity and be careful not to make the hole too big. Remember, you can easily trim a little more off, but you can’t put it back on again!
Once you’ve made the hole the right size to fit your replacement plasterboard, use plaster cement to attach diagonal pieces of plasterboard to the inside wall, making a brace that will hold the repair piece in place.
Once it’s set, apply adhesive to the brace and carefully fit the new plasterboard into the gap.
Finishing the job
Tape over the join with an adhesive plaster tape, then apply a thin coat of joining cement. You need to try and keep the cement as thin as possible to avoid getting a visible lump on your wall. Make sure you give it enough time to dry thoroughly between coats. This might be a good time for a well-earned cuppa!
Once it is dry, lightly sand back any lumps or bumps, if necessary. You can do a few coats of cement, using slightly less cement each time, for the perfect finish.
Extra plasterboard repair tips
Bigger holes will likely need extra fixtures, like studs or plasterboard screws. You may also want to use a stronger material for your brace, like stud timber.
Use plasterboard screws instead of nails or clouts, as not only can a nail do more damage to your newly repaired wall, but plasterboard screws can be sanded down to a perfectly smooth finish.
You can also use plasterboard screws for smaller fixes. Complete the first steps above, then put a small screw into your replacement board. Put joining cement around the edges of the board, slide through into the wall, and then use the screw to pull your new plasterboard into place. Don’t forget to wipe away the extra cement, and screw the handle in, then sand it back until it’s in line with the wall.
Matte finishes, lighter colours, or textured paints are less likely to show up any flaws in your plasterwork. Anything glossy will make small flaws more obvious.
The expert team at Mott Group are able to take care of all of your gyprock or plasterboard repairs for you, leaving you free to get on with your day. We’ll leave your house clean and tidy, taking care to protect your floors and walls and removing any mess. We can also paint your home to get it looking fresh and new.
Contact us today for efficient, cost-effective, and friendly service!